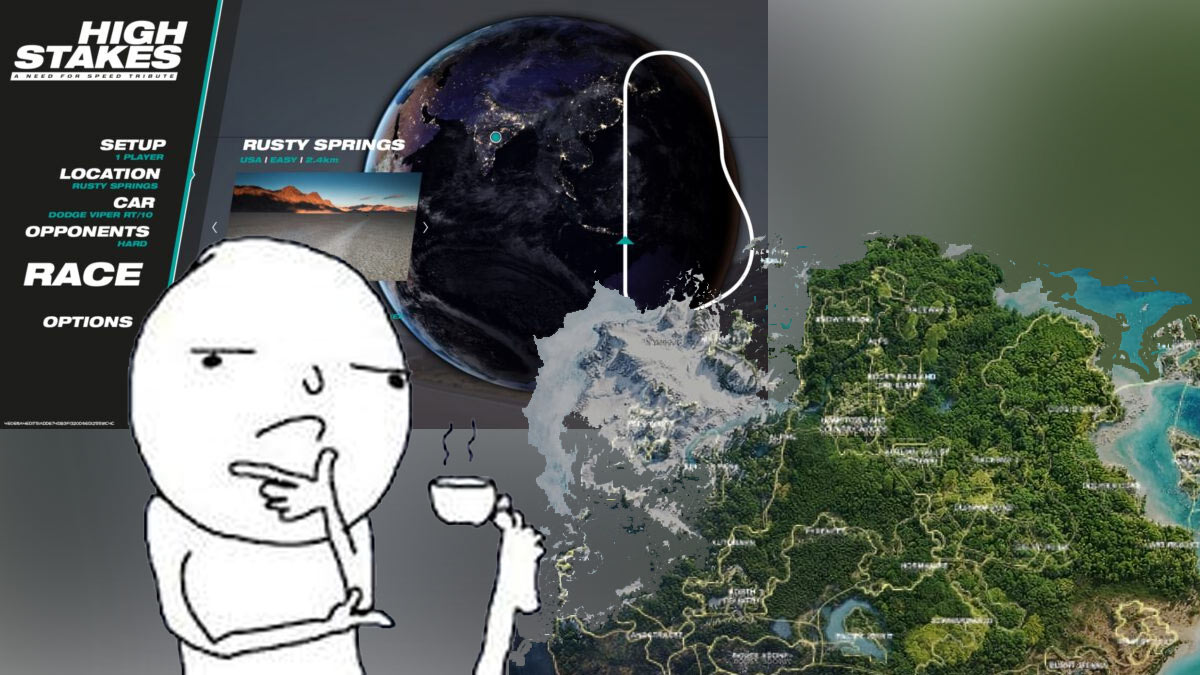
Regarding my long term deep hearted project “High Stakes Racing” I simply cannot decide which road I gonna take.
On the one hand I “just” want a – more or less – classic racing game combining all cars and tracks from NFS1 to NFS6 in more modern graphics with additional features, on the other hand I would like to see it as an mmo-game with 100+ players.
As both directions need a totally different approach I am lost which way to go.
In case you run into a scenario where you have multiple faces flipped and do not issue the lowering of the performance, as in my case just for reworking imported assets, you might find this UE5 python script helpful:
import unreal

def make_selected_materials_two_sided(save=True, recompile=True):
    selected = unreal.EditorUtilityLibrary.get_selected_assets()
    if not selected:
        unreal.log_warning("No assets selected.")
        return

    changed_paths = []
    skipped = 0

    for asset in selected:
        if isinstance(asset, unreal.Material):
            mat = asset
            path = mat.get_path_name()

            if mat.get_editor_property("two_sided"):
                unreal.log(f"[OK] Already TwoSided: {path}")
                continue

            # Set Two Sided flag
            mat.set_editor_property("two_sided", True)

            # Recompile / "Apply"
            if recompile:
                try:
                    unreal.MaterialEditingLibrary.recompile_material(mat)
                except Exception as e:
                    unreal.log_warning(f"[WARN] Recompile failed for {path}: {e}")

            unreal.log(f"[CHANGED] TwoSided enabled: {path}")
            changed_paths.append(path)

        elif isinstance(asset, unreal.MaterialInstanceConstant):
            unreal.log_warning(
                f"[SKIP] MaterialInstanceConstant has no TwoSided flag: {asset.get_path_name()} "
                f"(change the parent material instead)"
            )
            skipped += 1
        else:
            unreal.log_warning(f"[SKIP] Asset is not a Material: {asset.get_path_name()}")
            skipped += 1

    # Save modified assets
    if save and changed_paths:
        saved = 0
        for path in changed_paths:
            try:
                if unreal.EditorAssetLibrary.save_asset(path, only_if_is_dirty=False):
                    saved += 1
            except Exception as e:
                unreal.log_warning(f"[WARN] Failed to save asset {path}: {e}")

        unreal.log(f"[SAVE] Saved {saved}/{len(changed_paths)} material assets.")

    unreal.log(f"Done. Modified: {len(changed_paths)}, Skipped: {skipped}")

# Run:
make_selected_materials_two_sided(save=True, recompile=True)
When my home’s gas heater throws a fault, a tiny red LED lights up — and nothing else happens until I press the reset button. Since this can happen while I’m away, I wanted a small system that notices that red light, notifies me, and (eventually) presses the button automatically.
Enter RedWatch — a simple, Python-based monitoring setup that uses a USB webcam and a Raspberry Pi 3 Model B to detect that LED in real time.
💡 Concept
The idea is straightforward:
A USB camera points at the heater’s control panel.
OpenCV analyzes each frame for red pixels in a given HSV color range.
When the red LED appears, the Pi:
logs the event,
takes a snapshot,
sends an email or push notification to my phone.
Later I’ll add a small servo actuator to physically press the reset/acknowledge button once I confirm the alarm remotely.
🧠 Tech Overview
Hardware: Raspberry Pi 3 Model B, any USB webcam, stable 5 V power.
Software: Python 3, OpenCV, NumPy, tmux, and systemd.
Notifications: SMTP (email) or ntfy.sh push messages.
Display: A dedicated fullscreen dashboard on tty8 showing current IP addresses and live logs.
The entire setup runs automatically on boot — no desktop required.
🧰 Implementation Highlights
The Python script continuously monitors for red hue clusters (two HSV bands to cover both ends of the red spectrum).
A debounce timer filters out flicker or reflections.
Snapshots and timestamps are stored in /home/heater/redwatch/capture/.
All messages go into redwatch.log.
Two systemd services manage startup:
redwatch.service runs the OpenCV monitor.
redwatch-dashboard.service launches a tmux session on TTY 8 with:
a dynamic banner (hostname, timestamp, IP addresses),
live log streaming via journalctl -fu redwatch.service.
You can return to your normal KDE desktop with Ctrl + Alt + F2, and back to the RedWatch dashboard with Ctrl + Alt + F8.
🧩 Typical Use Case
Whenever the heater locks out, the LED lights up — RedWatch detects it within a second or two, sends me an email like:
“Red light detected on heater – 2025-10-16 15:42:21”
…and saves a photo of the panel. From there I can confirm remotely and, in the next phase, trigger a small stepper or servo motor wired to the heater’s reset switch.
🚀 Results
Reliable detection even under variable lighting.
No false alarms after HSV tuning.
Email alerts arrive in < 2 s.
Dashboard visible on HDMI monitor for local diagnostics.
It’s a surprisingly robust little IoT maintenance sentinel — and the groundwork for a fully automated recovery loop.
🔧 Next Steps
Add servo/solenoid actuator to press the reset button.
Optional: MQTT integration for home-automation systems (e.g. Home Assistant).
Log heater uptime, restart counts, and runtime temperatures.
🏁 TL;DR
RedWatch is a Raspberry Pi-based vision sensor that watches a heater’s fault LED, logs it, alerts you, and can later clear the error automatically.
Source code and setup guide are available in the project’s README (includes full Python, systemd units, and dashboard scripts).
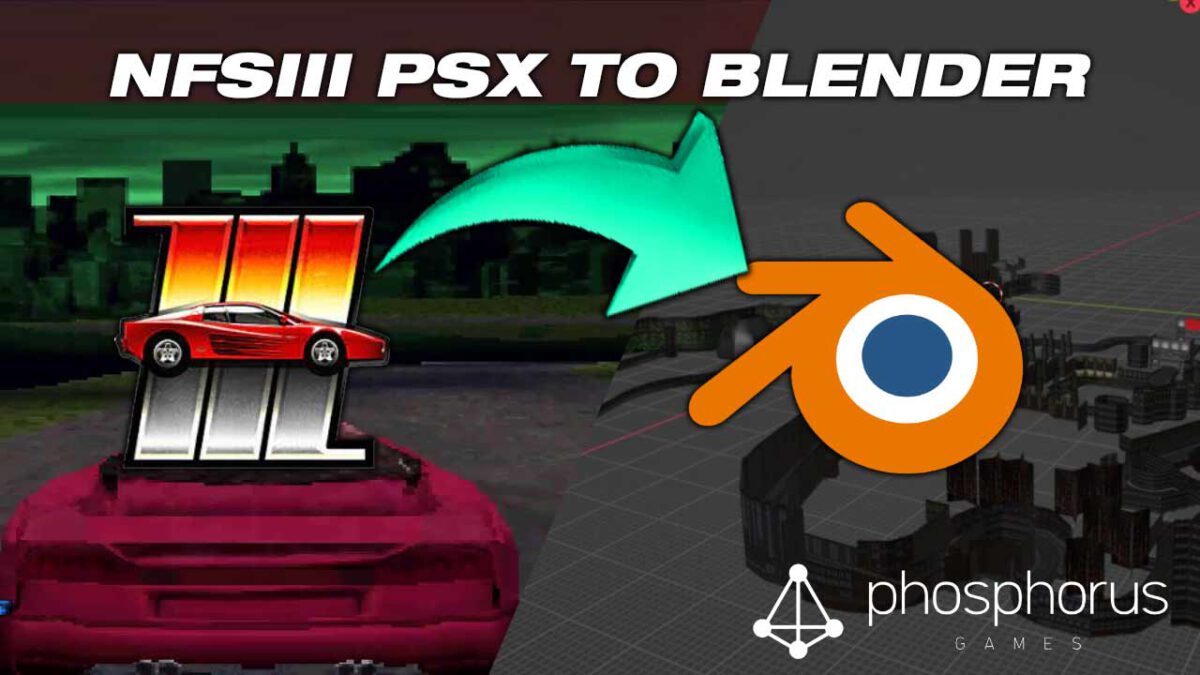
If you want to import some or all Need For Speed III – Hot Pursuit PSX tracks to blender this short guide might help you.
I digged into it to get to the data of the Playstation-only Tracks Autocross, Caverns, Scorpio-7, Space Race and The Room, but also to finally see the legend TR02B myself.
Personal trivia: I knew that there needed to be some sort of hidden tracks and cars beside the ones that I could ever find as I can clearly remember as if it was yesterday when I read an article about the upcoming NFS3 game showing a screenshot of both track and car that I could never find in the (PC-)release version. Due to the fact that I never had a PSX myself but playing it on PC, I honestly never looked after it. Today I found out that the screenshot was representing the Autocross-Track with the PSX El Nino which has (for some reason) differences in it’s rear end textures.
Adobe Photoshop (or any other tool with the ability to batch-convert BMP-files to PNG-files)
Setting up OpenNFS
This step might be optional as there could be other ways to get your hands on the texture of those tracks, but I found it the most easy way once you set up OpenNFS.
Once you have downloaded OpenNFS you may just want to extract the zipped folder to a location of your choice.
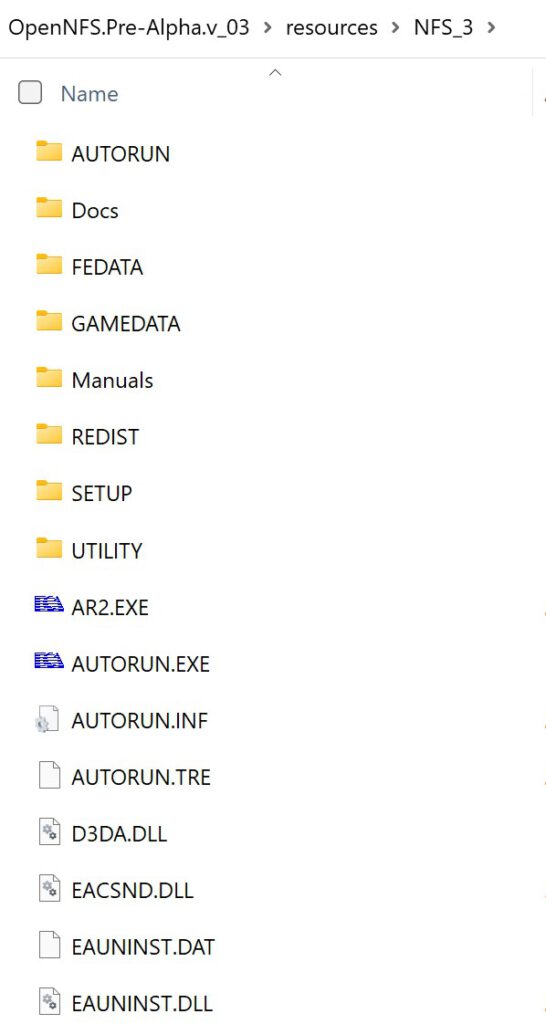
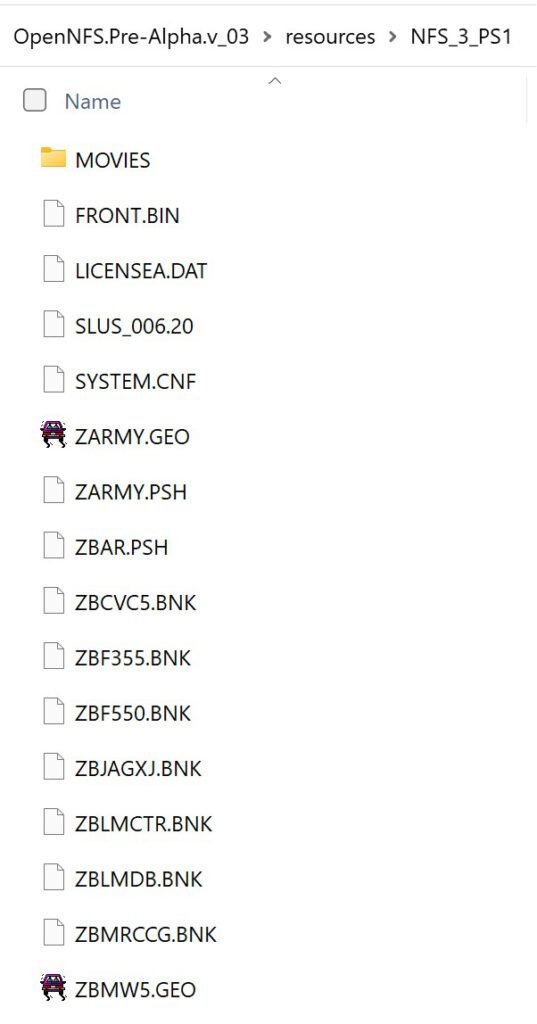
Following the original installation instruction (mirror) you then need to copy the whole NFSIII-PC files obtained from your original NFSIII-PC CD to resources/NFS_3 and the extracted files from your NFSIII-PSX CD to resouces/NFS_3_PS1, so that both folders look like the following screenhots show:
The following step with OpenNFS might be obsolete as there are other tools to convert the textures to BMP, PNG or whatever, but I personally found it the most easy way just to click through the dropdown in OpenNFS waiting for the tracks to load and have the textures all ready in each folder instead of working on a cli.
Starting OpenNFS
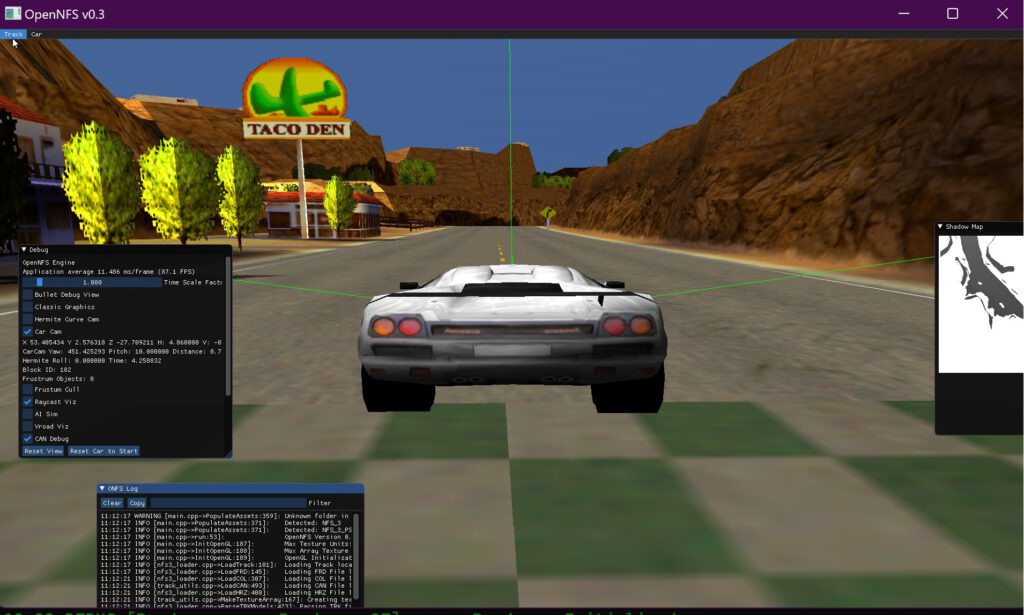
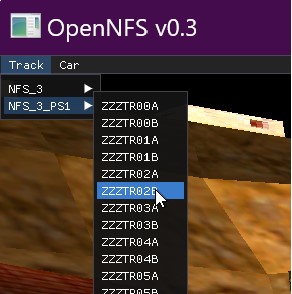
Once you started OpenNFS select TR02B (or any other track you like) from the track dropdown
In the cli window in the background you will notice some stuff going on, just be patient and wait for the track to load.
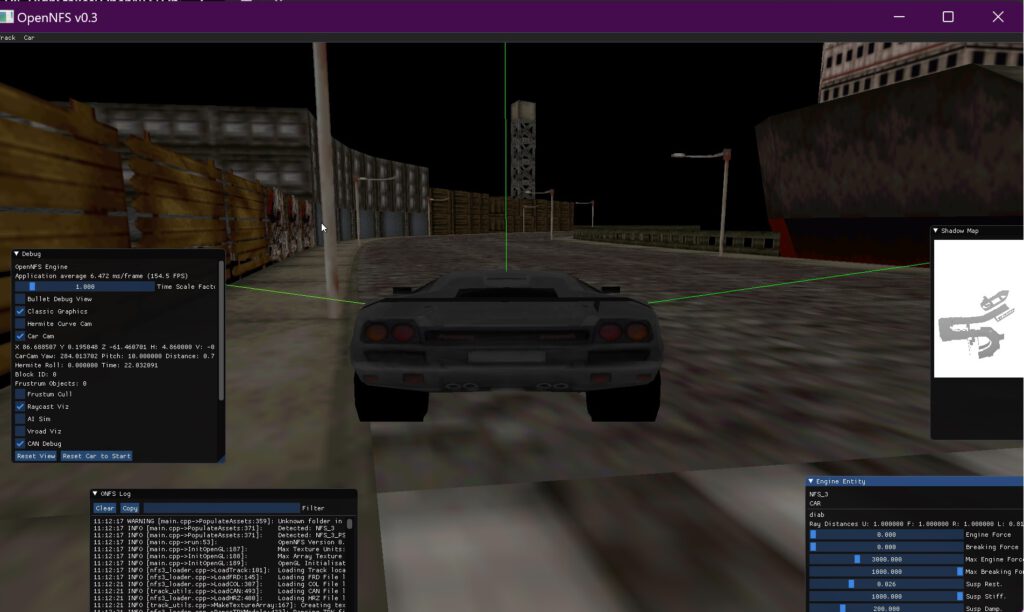
TR02B from NFS3 Hot Pursuit loaded in OpenNFS
Once the track is fully loaded you now may exit OpenNFS or take a lap around the track – your choice.
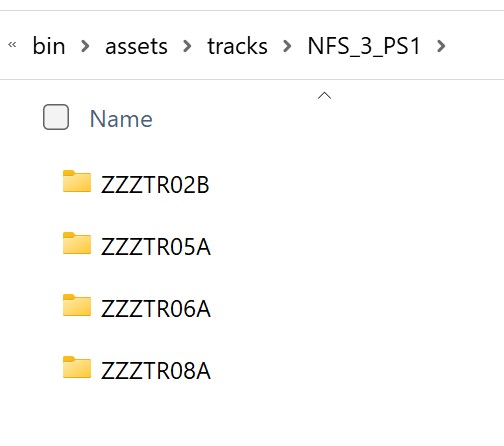
Afterwards you navigate to the installation directory of OpenNFS and jump to
/bin/assets/tracks/NFS_3_PS1/
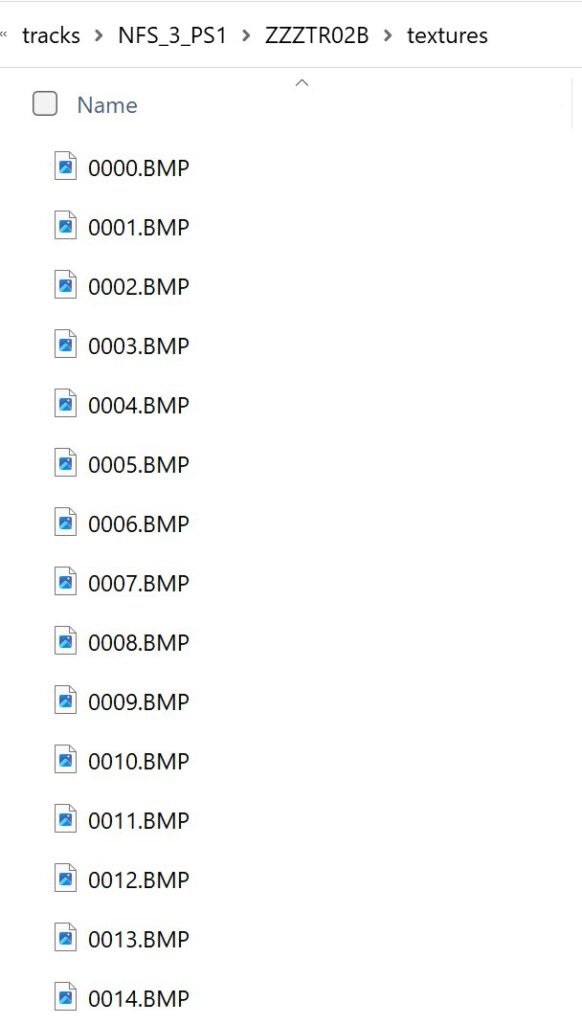
In there you will find all track-folders you already opened in OpenNFS containing each track’s textures as BMP files.
e.g. ZZZTR02B
Converting the BMP files to PNGs
As there are many ways to achieve that I will leave that up to you, I used a simple photoshop action and batch-runned it to get them into PNGs.
I suggest to store the png files in new folder. Personally, I always create new folders like
ROOT/exports/nfs3/tracks/tr02b/png
Converting the TRK files to Blender with TRK2Blender
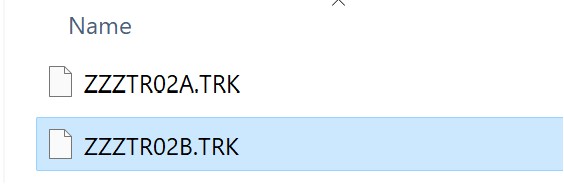
Open the tool “TRK2Blender”, navigate to the PSX-files-folder within your OpenNFS installation directory and select the corresponding trk file, e.g. ZZZTRK02B.
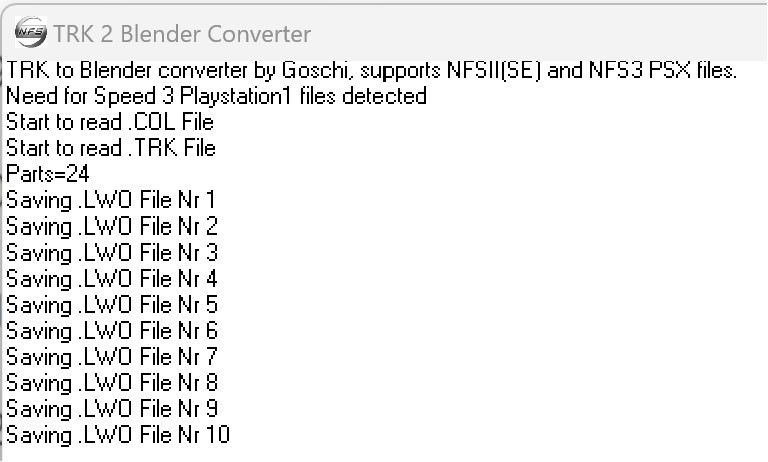
Afterwars you will see the conversion process running
Prompting “Conversion complete, please exit.” when the process is completed. Within the NFS3-PSX file folder in OpenNFS’s resources you then will find a new folder named after the track file you opened containing all .lwo files.
Note: At this step I suggest to copy all .lwo-files to the export-folder above just to keep an eye on the exported files for later use maybe.
ROOT/exports/nfs3/tracks/tr02b/
Make sure you copied the bmps converted to png in the subfolder (here “PNG”; but the name is up to you, e.g. “textures” or whatever).
Start Blender
Once you started blender I prefer to empty the scene to remove unused content.
Open scripting tab, click “new” and paste the following script.
import os
import bpy

# put the location to the folder where the objs are located here in this fashion
# this line will only work on windows ie C:\objects
path_to_obj_dir = os.path.join('C:\\', 'Users', 'USERNAME', 'PATH', 'TO', 'YOUR', 'FILES')

# get list of all files in directory
file_list = sorted(os.listdir(path_to_obj_dir))

# get a list of files ending in 'obj'
obj_list = [item for item in file_list if item.endswith('.lwo')]

# loop through the strings in obj_list and add the files to the scene
for item in obj_list:
    path_to_file = os.path.join(path_to_obj_dir, item)
    bpy.ops.import_scene.lwo(filepath = path_to_file)
Make sure to edit the “path_to_obj_dir” var to match your folder structure, e.g.
And hit the “play”-button in the scripting Tab. An error will occur.
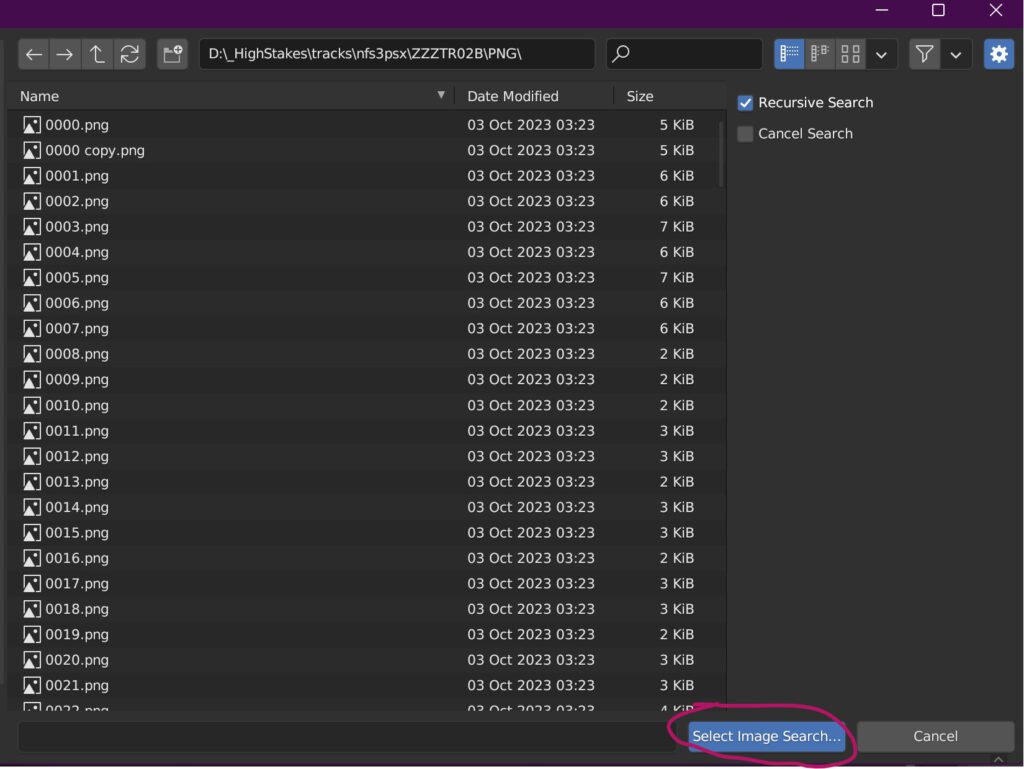
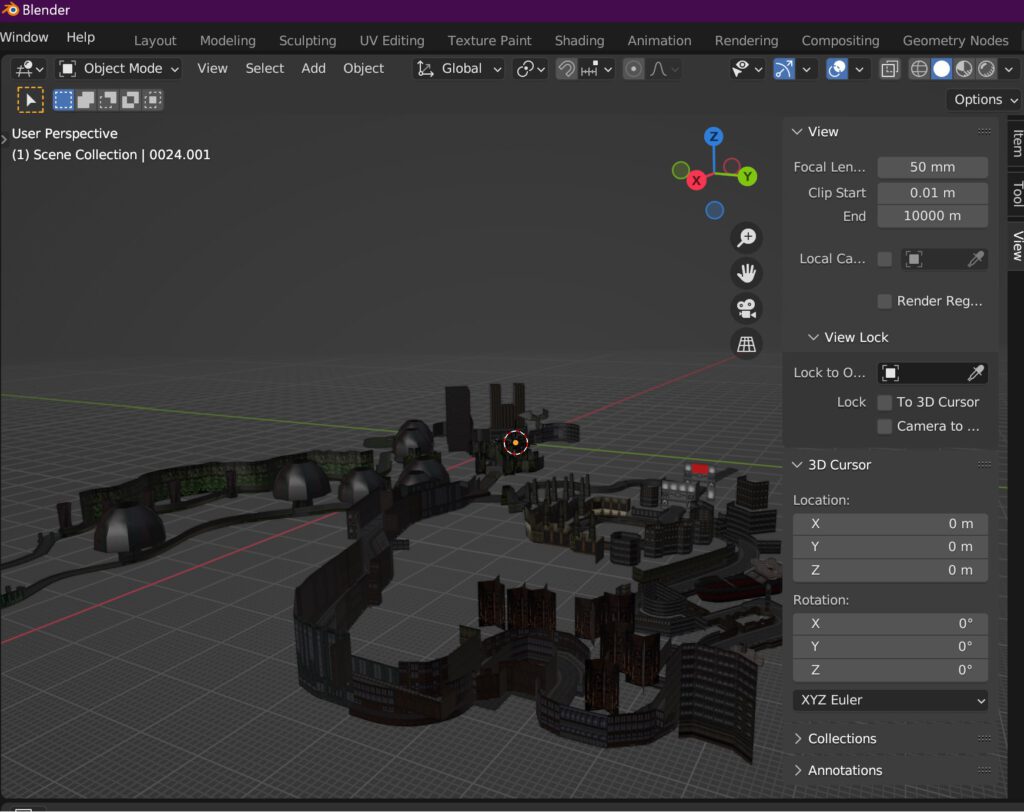
Select the texture folder created, hit “Select Image Search…” and see imported track TR02B in blender.
TR02B – The hidden track from Need For Speed III – Hot Pursuit – imported to blender.
*, ** – Due to copyrights I cannot give you access to any of these original game data files, of course!
Manage Consent
To provide the best experiences, we use technologies like cookies to store and/or access device information. Consenting to these technologies will allow us to process data such as browsing behavior or unique IDs on this site. Not consenting or withdrawing consent, may adversely affect certain features and functions.
Functional
Always active
The technical storage or access is strictly necessary for the legitimate purpose of enabling the use of a specific service explicitly requested by the subscriber or user, or for the sole purpose of carrying out the transmission of a communication over an electronic communications network.
Preferences
The technical storage or access is necessary for the legitimate purpose of storing preferences that are not requested by the subscriber or user.
Statistics
The technical storage or access that is used exclusively for statistical purposes.The technical storage or access that is used exclusively for anonymous statistical purposes. Without a subpoena, voluntary compliance on the part of your Internet Service Provider, or additional records from a third party, information stored or retrieved for this purpose alone cannot usually be used to identify you.
Marketing
The technical storage or access is required to create user profiles to send advertising, or to track the user on a website or across several websites for similar marketing purposes.