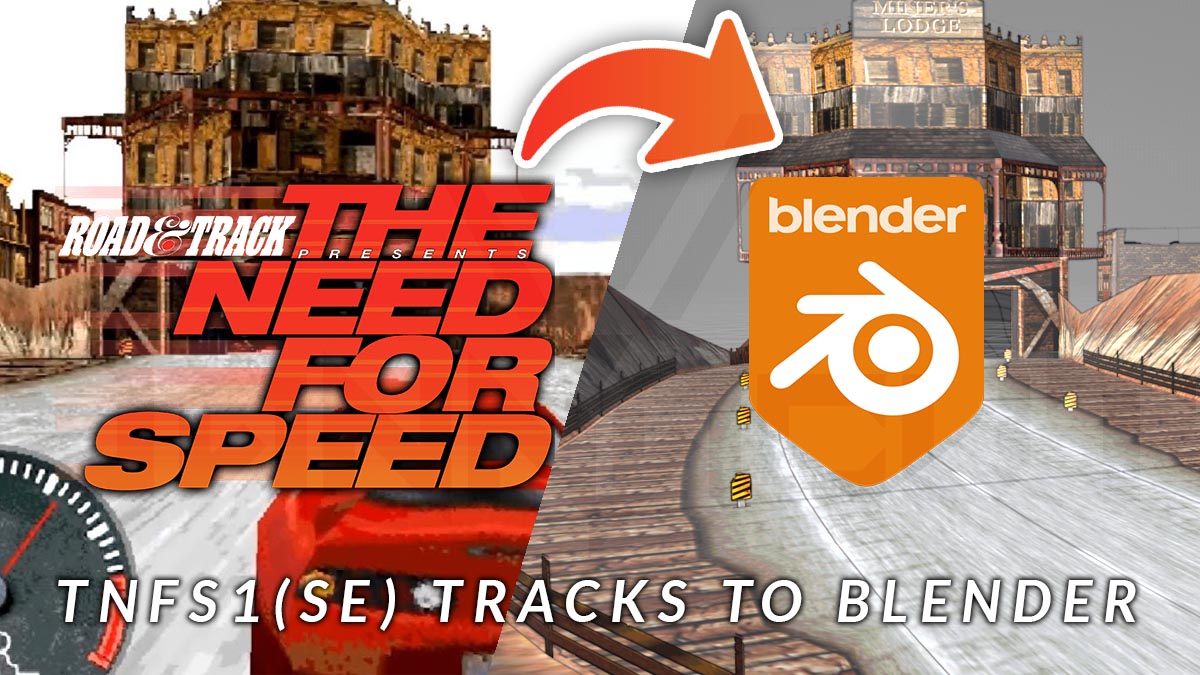
As it turned out, using already converted NFS1 tracks (e.g. NFS3, NFS4 or Assetto versions) being highly inaccurate (e.g. NFS3 “Rusty Springs” is actually a reskinned “Oasis Springs”) I got deeper into getting the original geometry exported.
Upon research I discovered the mighty tools of Andrew Gura (andrew_gura) within the discord community of RENFS. I got into contact with him and he managed to fix some problems I discovered, yet me being able to convert all NFS1(SE) tracks fluently to blender.
Prequisites
- original The Need for Speed PC Version (3DO or WIN version – DOS version won’t work! – you might get them here)
- a windows computer
- The tools of andrew_gura – get them here: GitHub (AndyGura)| Mirror 1 (vannacut.com) and buy that guy a coffee!
- python 3.9 – get it here | Mirror 1 (vannacut.com)
- pip – shipped with python
- ffmpeg – get it here | Mirror 1 (vannacut.com)
- blender (version 4+) – get it here
Preparations
Once you have downloaded the NFS resource toolkit by Andrew Gura from above and got your TNFS files dumped from your original copy, open your terminal (cmd) and navigate to the folder where you unzipped the nfsrc toolkit to, e.g. d:\NFSToolkit\, or in my case D:\_HighStakes\nfs-resources-converter-main.
For the most fluent experience make sure you have no other python version active and/or installed. I tend to use a specific unix WSL for it or a virtual windows machine.
Make sure that blender and ffmpeg commands work in terminal (cmd). If not, either fix your system environment variable PATH, or reboot your system if software was just installed, or set an absolute path to executables in settings.py
Then just enter
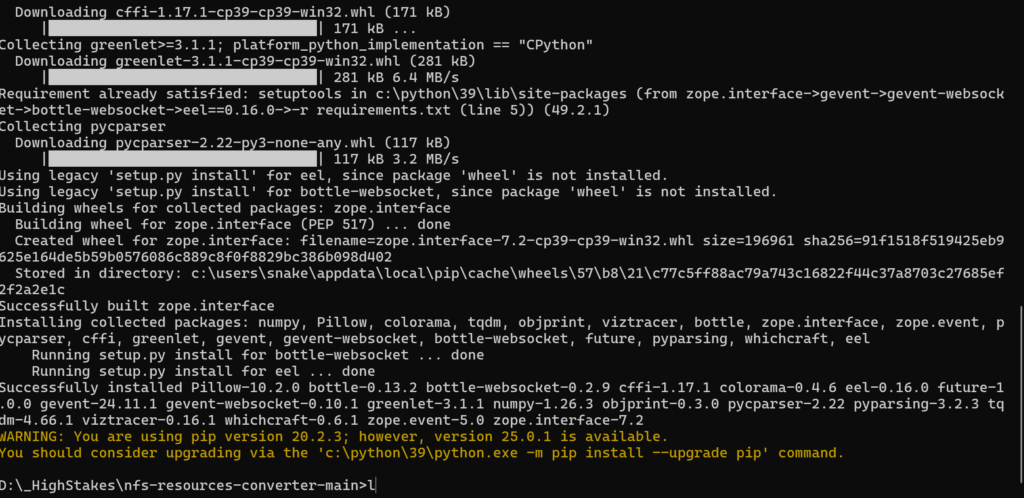
pip install -r requirements.txt
This will download a bunch of other libs and tools
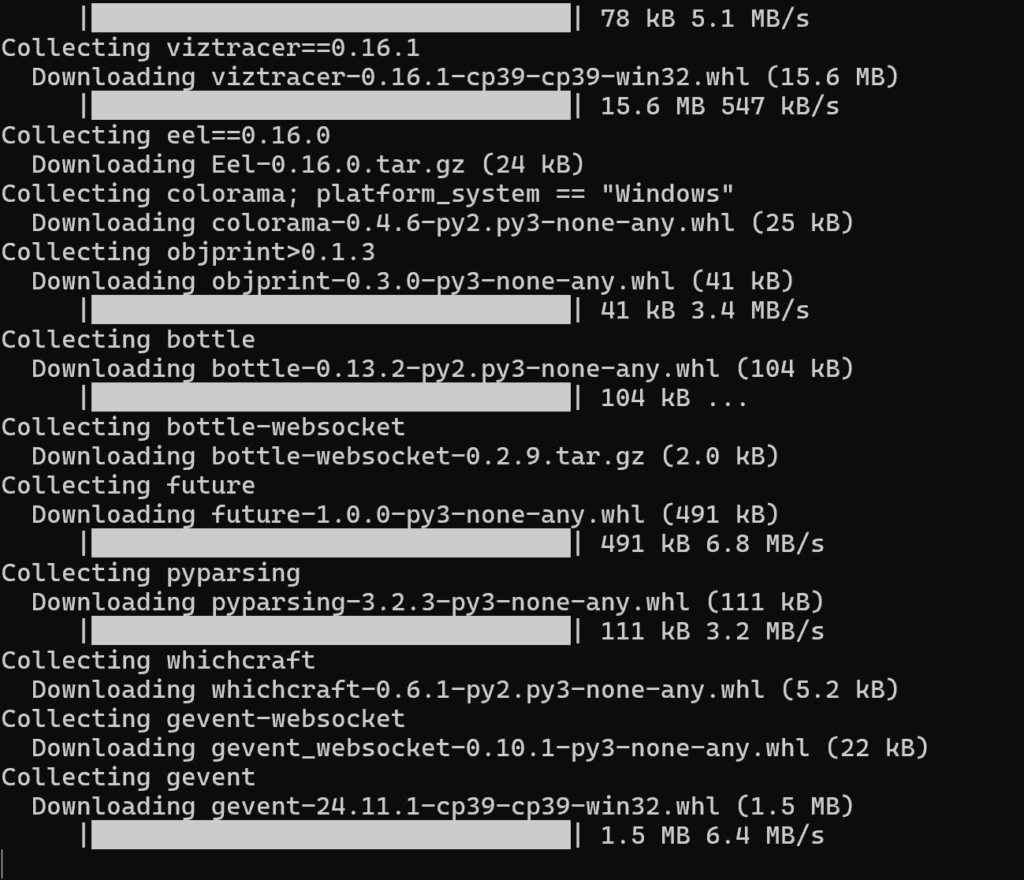
just sit back and relax until everything is finished, it will take some time.
For the next step I recommend copying all neccessary data to your working nfsrc-directory.
My directories are, as “nfs-resources-converter-main” is the root:
- /media/fast/NFSSE/ – all NFSSE files here
- /media/out/where the track files go to
Now just run
python run.py convert media/fast/NFSSE --out media/out/you maybe need to adjust your pathes to your local configuration. Bare in mind not to use “/” at the very beginning of your pathes.
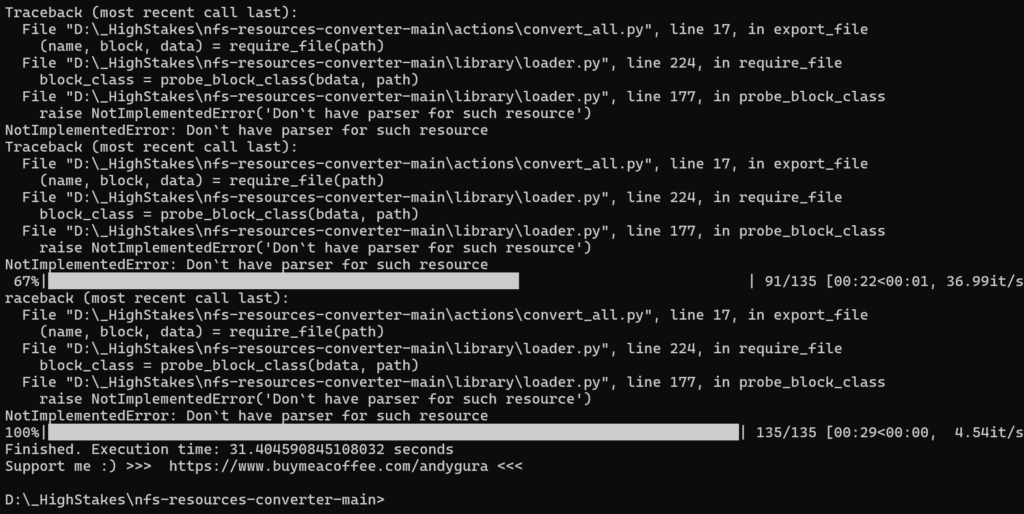
once this process is completed (I have error printing enabled if you wonder) – you will find all converted ressources in the spcified folder:
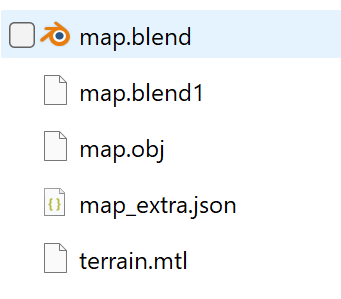
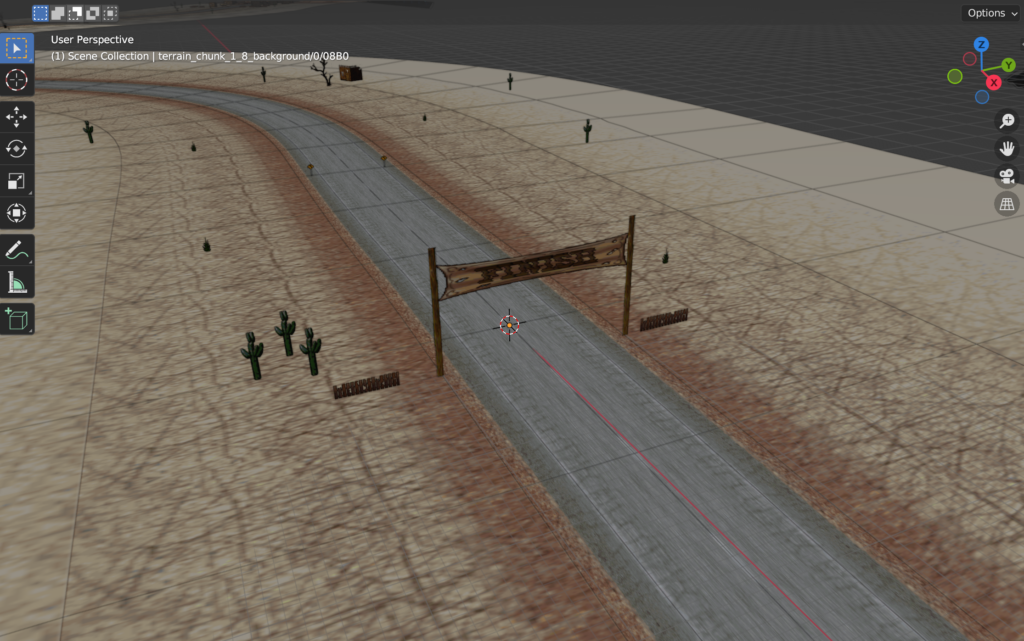
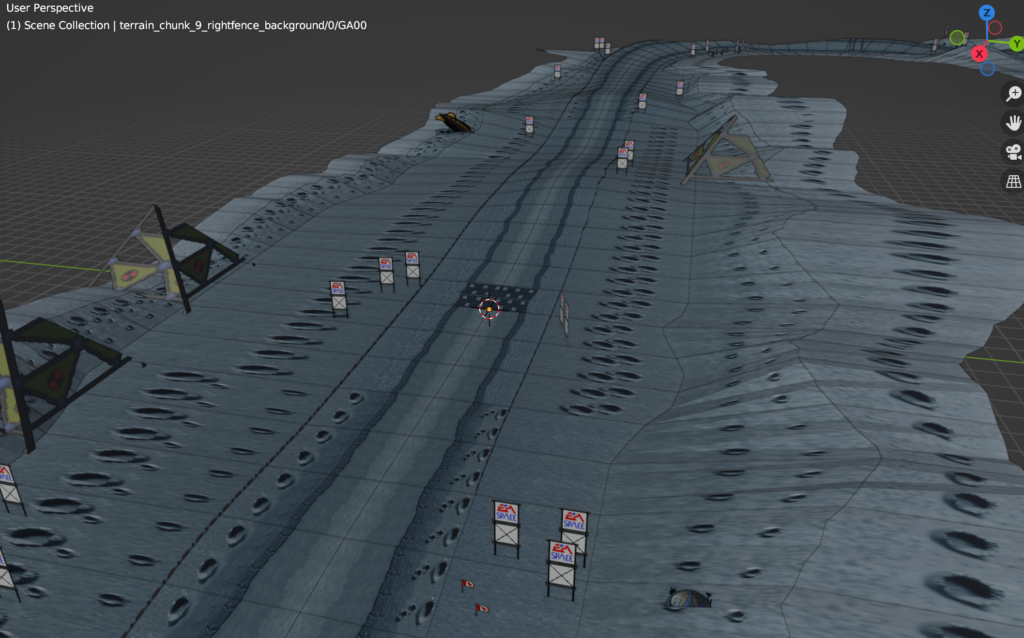
\media\out\SIMDATA\MISCThis is where you will find the converted track files. Let’s take a look at Burnt Sienna as this is one of my favorite tracks of Need For Speed 1.
Burnt Sienna is TR6, this is the folder contents:
For me opening the .blend file does work, yet I cannot get the texture getting displayed. Instead I am importing the .obj-file into 3D Studio Max. Importing into blender does also work like a charm, yet the axis’ are somewhat flipped as you will surely notice. So make sure your import axis’ settings are as follows:
Forward Axis: X
Up Axis: Z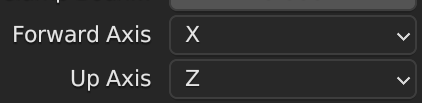
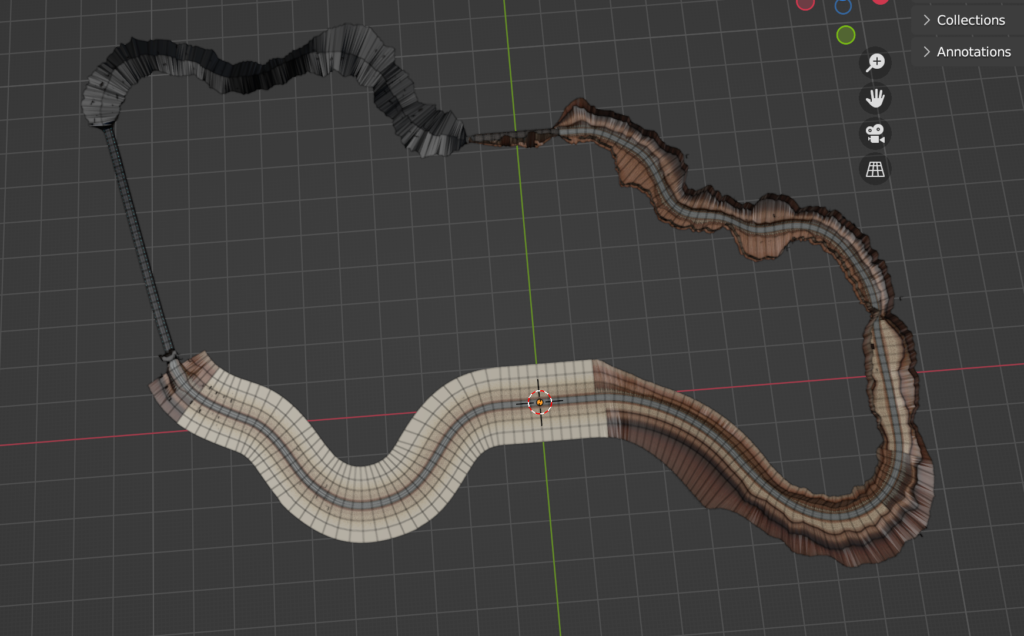
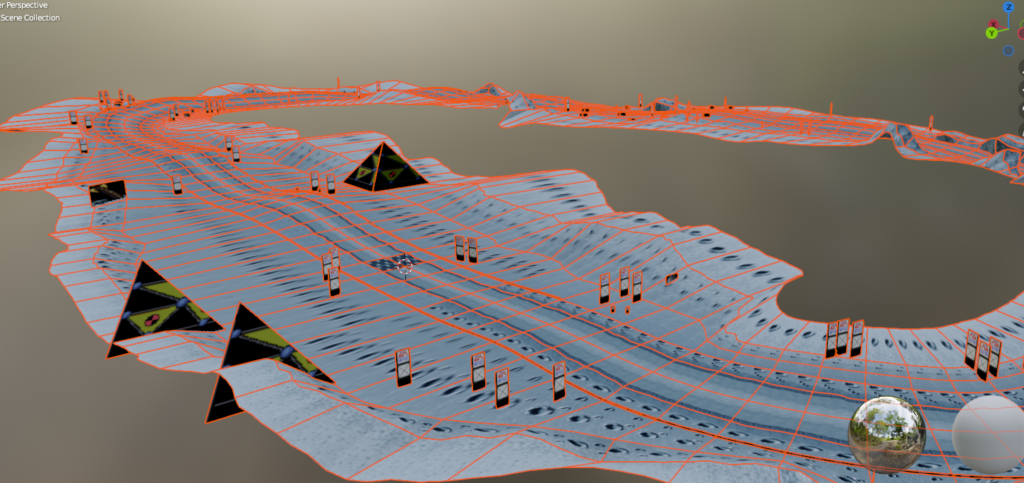
And then you will see the imported original track “Burnt Sienna” in all of it’s glory inside blender, 3dsmax or any other 3d software capable of handling .obj-files.
Further processing
As you now have a blender-compatible version of all the nfs1se-tracks you are free to use them for your projects. Bare in mind that the original tracks do have specific rights to the owners and may not be used in any public project.
For my use, I united all track and object parts to one each for better replacing and recreating in the unreal engine 5 for my High Stakes Racing project.
Hidden Tracks
As the nfs-fans of you might know, there are two hidden versions of “Rusty Springs” included in the PSX (Playstation) version of the game. Yet those two tracks (Oasis Springs and Lunar Springs) are indeed included but not playable in the game. Together with Andrew Gura I did manage to get them into blender.
Oasis Springs
Oasis Springs is available as “normal” bonus track and is therefor directly being exported during the process above. You will find it in the download section.
Lunar Springs
For Lunar Springs, as this is – beside the objects – just a reskinned Oasis Springs. To get access to the correctly exported textures and objects, we need to modify the following data before converting it.
Renaming TR8_R01.FAM inside NTRACKFM folder to TR5_001.FAM inside ETRACKFM folder.
After that you need to run the whole conversion process again as all dependencies are baked during conversion.
After running the conversion again just copy all content of NTRACKFM/TR8_R01.FAM over NTRACKFM/TR5_M01.FAM and re-run the conversion command.
Alternatively you can launch the gui and switch manually to NTRACKFM/TR8_R01.FAM
python run.py gui /media/fast/NFSSE/SIMDATA/MISC/TR5.TRI
Although some objects are odd as there are just some remains of this track beside the full version. But as I am recreating all tracks by myself I just needed the placement and textures as reference.
Troubleshooting
I do not have any objects (trees, signs, houses) in my track
This is related to a setting in the settings.py file and as fixed in newer versions of the nfsrc toolkit – so you should consider getting the newest build from the git repo, or manually adjust the setting to “true”.
maps__add_props_to_obj = TrueBlender file is not being generated
If you face the issue that you do not find any .blend file once the conversion process is complete this is most likely related due to wrong executable file specification within the settings.py
If you did noit modify the settings.py the script will require you to have blender set as system variable, otherwise you need to fix the path, e.g:
blender_executable = 'C:\Program Files\Blender Foundation\Blender 3.6\blender.exe'Textures are not being generated
If you see that there are no textures being generated – this will be related to a problem with correctly replacing the placeholder backslashes within the bitmap.py script.
If you have error printing enabled, you will see an error like this
File "\serializers\bitmaps.py", line 52, in serialize
Image.frombytes('RGBA',
File "C:\Python\39\lib\site-packages\PIL\Image.py", line 2436, in save
fp = builtins.open(filename, "w+b")
FileNotFoundError: [Errno 2] No such file or directory: 'media--bs--out/--bs--SIMDATA--bs--ETRACKFM--bs--TR2_001.FAM--bs--props--bs--1--bs--0--bs--assets/side.png'
Answer
download my fixed bitmap.py script and overwrite the existing one ine /serializers/.
ERROR: Could not install packages due to an EnvironmentError: [WinError 5]
Zugriff verweigert: ‘c:\python38\lib\site-packages\pip-20.1.1.dist-info\entry_points.txt’
Consider using the –user option or check the permissions.
WARNING: You are using pip version 20.1.1; however, version 25.0.1 is available.
You should consider upgrading via the ‘c:\python38\python.exe -m pip install –upgrade pip’ command.
Answer
The classic Windows WinError 5 — it means permission denied when pip tries to write to a system-wide folder. Here’s how to fix it 👇
✅ Option 1: Use --user to install in your user directory
Just add --user to your install command:
python -m pip install --upgrade pip --user
Or for any package:
python -m pip install <package-name> --user
This installs to your user-level site-packages (no admin needed).
✅ Option 2: Run as Administrator (if you need system-wide install)
- Open the Start Menu
- Search for Command Prompt
- Right-click → Run as administrator
- Then run:
python -m pip install --upgrade pip
This gives pip the permissions it needs to update itself or install globally.
⚠️ Optional: Use Python 3.9 instead
If you’ve already installed Python 3.9 and want to upgrade pip there:
python3.9 -m pip install --upgrade pip --user
(or replace python3.9 with the exact path, e.g. C:\Python39\python.exe if needed)